How to Add Text in DaVinci Resolve: A Complete Step-by-Step Guide
DaVinci Resolve is one of the most popular video editing software used by professionals and beginners alike. With its powerful features, advanced color grading tools, and creative effects, it stands out as a go-to editor for YouTubers, filmmakers, and content creators. One of the most essential skills every editor needs to learn is how to add text in DaVinci Resolve. Whether you’re adding a simple title, lower-third, or creating eye-catching animated captions, mastering text tools will significantly improve your videos.
In this comprehensive guide, we’ll cover everything you need to know about adding, editing, and customizing text in DaVinci Resolve. By the end, you’ll not only know the basics but also how to make professional-looking titles for your projects.
Why Adding Text Matters in Video Editing
Before diving into the steps, let’s understand why text plays a vital role in video content:
- Clarity and Engagement – Text highlights key points, ensuring viewers don’t miss important details.
- Brand Identity – Consistent fonts, colors, and placement strengthen your personal or business brand.
- Accessibility – Subtitles and captions make videos accessible to a wider audience, including those who are hearing impaired.
- Professional Look – Titles, intros, and lower-thirds give your content a polished and cinematic appearance.
DaVinci Resolve makes this process easy, offering multiple ways to add text—ranging from simple text overlays to advanced Fusion-based animations.
Step 1: Open Your Project in DaVinci Resolve
To get started:
- Launch DaVinci Resolve on your computer.
- Open an existing project or create a new one.
- Drag your video clips to the timeline where you want to add text.

Having your footage in place makes it easier to align text with your visuals.
Step 2: Access the “Effects Library”
DaVinci Resolve’s text tools are located inside the Effects Library.
- Go to the Edit Page (where most editing is done).
- On the top-left, click Effects Library.
- Expand the Titles section—you’ll see two main options:
- Text – Basic text overlay with essential editing options.
- Text+ – A more advanced text option using Fusion for animations and effects.

Step 3: Add a Basic Text Title
If you’re new, starting with the Text tool is recommended.
- Drag the Text effect from the library onto your timeline.
- Place it above your video clip (on a new video track).
- Select the text box in the timeline and open the Inspector Panel (top-right).
Here, you can customize:
- Font style and size
- Color
- Alignment
- Position
- Background options

This is perfect for simple titles, names, or straightforward captions.
Step 4: Using the Advanced “Text+” Option
The Text+ tool is a powerful feature powered by DaVinci Resolve’s Fusion engine. It allows more customization and animation.
To use it:
- Drag Text+ to the timeline above your clip.
- Select it and open the Inspector Panel.
- You’ll find advanced controls like:
- Shading and stroke effects
- 3D text options
- Keyframing for animations
- Background fills and outlines

For example, you can create glowing text, bouncing animations, or cinematic title sequences.
Step 5: Customize Text Properties
Once you’ve added text, it’s time to make it stand out. In the Inspector, you can tweak:
- Font: Choose a professional-looking font that matches your brand or theme.
- Color: Use contrasting colors so text is easily readable.
- Size & Spacing: Adjust letter spacing, line spacing, and size for clarity.
- Shadow & Outline: Add depth and visibility to your text.
- Positioning: Move the text across the frame to avoid covering important visuals.
Step 6: Adding Motion and Animation
Static text can sometimes feel boring. Adding animation makes your video engaging. With Text+, you can keyframe properties like:
- Opacity – Fade text in or out.
- Position – Slide text from left, right, top, or bottom.
- Rotation – Spin or tilt text for dynamic effects.
- Zoom – Make text grow or shrink smoothly.
To do this:
- Select the text.
- Go to Inspector > Settings.
- Add keyframes at different timeline positions to animate changes.

This allows you to create professional intros and outros.
Step 7: Creating Lower Thirds
Lower thirds are commonly used in documentaries, interviews, and news videos to display speaker names or extra info.
How to make one in DaVinci Resolve:
- Add a Text+ layer to the timeline.
- Position it at the bottom of the frame.
- Customize font, color, and background box.
- Add animation (like sliding in from the side).
You can also use pre-built lower-third templates from DaVinci Resolve’s Fusion templates or download free/paid ones online.
Step 8: Using Fusion for Advanced Text Effects
Fusion is DaVinci Resolve’s advanced visual effects workspace.
Steps to access:
- Select your Text+ layer.
- Switch to the Fusion Page.
- You’ll see nodes (Text, MediaOut, etc.).
- Add effects like glows, 3D, particles, or motion tracking.
For example, you can create 3D cinematic titles similar to what you see in Hollywood movies.
Step 9: Adding Subtitles in DaVinci Resolve
If you want to make your content accessible, adding subtitles is essential.
- Go to Timeline > Add Subtitle Track.
- Right-click and choose Add Subtitle.
- Type your text and adjust duration.
- Customize font and style in the Inspector.
Subtitles can be exported as SRT files or burned directly into your video.
Step 10: Exporting with Text
Once you’ve added and customized your text, it’s time to export.
- Go to the Deliver Page.
- Choose your desired format (MP4, MOV, etc.).
- Make sure text layers appear correctly in the preview.
- Click Add to Render Queue and Render.
Now your text is part of the final video!
Pro Tips for Better Text in DaVinci Resolve
- Keep it short and clear – Avoid long sentences.
- Use high-contrast colors – Ensure readability against video backgrounds.
- Don’t overuse effects – Simple, clean animations often look more professional.
- Stay consistent – Use the same font, style, and positioning throughout your video.
- Use templates – Save time with pre-made title templates.
Common Mistakes to Avoid
- Placing text over busy backgrounds – Always use shadows or background boxes.
- Using too many fonts – Stick to one or two fonts per video.
- Poor timing – Don’t display text too quickly; viewers need time to read.
- Ignoring mobile viewers – Ensure text is visible even on small screens.
Final Thoughts
Adding text in DaVinci Resolve may seem complex at first, but once you understand the basics, it becomes straightforward. From simple titles to cinematic animations, DaVinci Resolve gives you the flexibility to create professional-quality text effects without extra plugins.
By following this guide, you can now:
- Add basic text and customize it.
- Use Text+ for advanced options.
- Animate text with keyframes.
- Create subtitles and lower thirds.
- Export videos with text overlays seamlessly.
Whether you’re editing YouTube videos, short films, or professional projects, mastering text tools in DaVinci Resolve will take your editing skills to the next level.
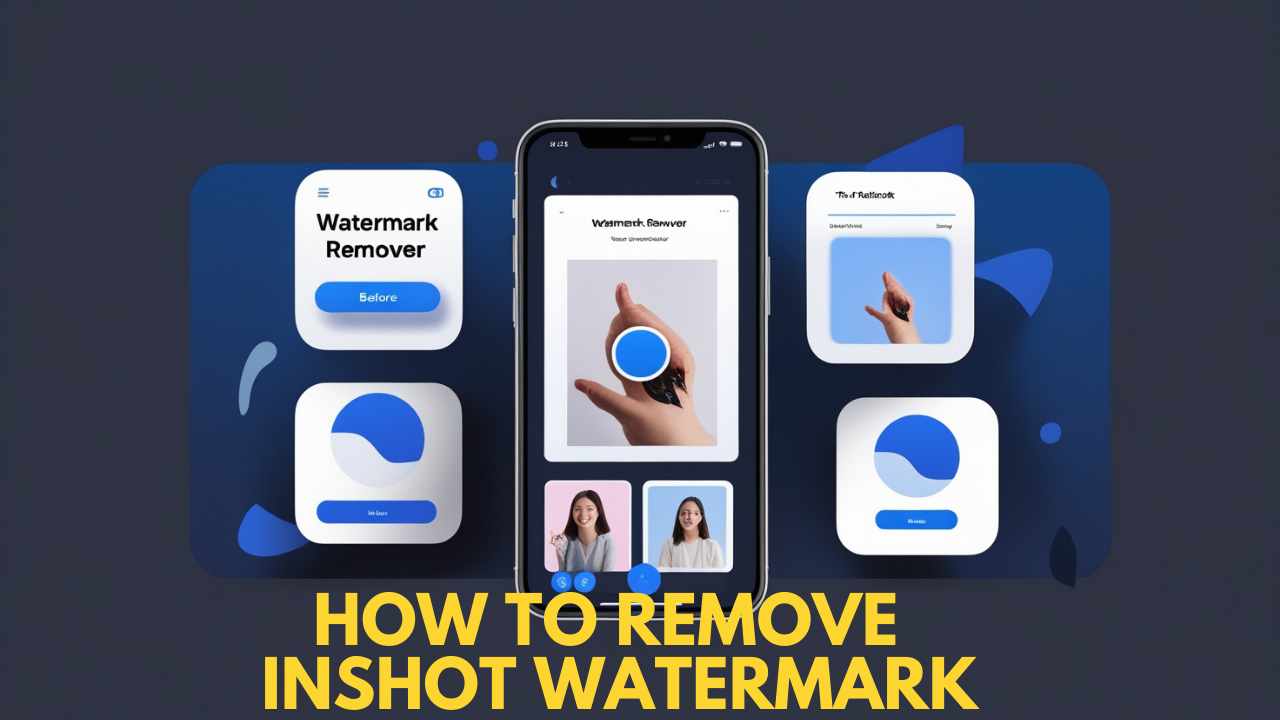
Also Read: How to Remove InShot Watermark: Guide 2025